Unlock Pro-Level Videos in Minutes
Remember spending hours editing a video, only to feel it lacks that “wow” factor? What if I told you CapCut Desktop holds a secret weapon to skip the grind and instantly elevate your content? That weapon is “template on CapCut desktop.”
As a video editor who’s tested tools from Premiere Pro to DaVinci Resolve, I was stunned by how CapCut Desktop templates democratize pro-level effects. Forget basic presets—we’re talking about dynamic frameworks with built-in animations, transitions, and color grading.
In this guide, you’ll learn not only how to apply and tweak templates but also insider tips from my own editing experiments to ensure your final cut feels uniquely yours. Let’s dive in!
Why Use a Template on CapCut Desktop?
Before we jump into step-by-step instructions, let’s understand the “why” behind templates:
📝 Speed & Efficiency: Templates eliminate repetitive setup: titles, transitions, and effects are preconfigured.
📝 Professional Polish: Even beginners get cinematic looks—no advanced skills required.
📝 Creative Spark: Browsing templates can inspire styles and sequences you wouldn’t have considered.
📝 Higher Resolution: Export up to 4K vs. mobile’s 1080p limit.
📝 Complex Customization: Adjust individual layers, keyframes, and effects.
📝 Multi-Track Precision: Edit text, audio, and visuals on separate timelines.

I recently used a “Trendy Vlog” template to transform a client’s flat footage into a dynamic travel reel. What took me 3 hours manually was done in 20 minutes using a desktop template—and it looks better.
CapCut Desktop vs. Mobile: Template Capabilities Comparison
While CapCut Mobile offers convenience, the desktop version unlocks advanced features and a more robust template library. Below is a quick side-by-side:
| Feature | CapCut Mobile | CapCut Desktop |
|---|---|---|
| Number of Templates | ~200 basic packs | 800 + professional templates |
| Export Formats | MP4, MOV | MP4, MOV, GIF, image sequence |
| Layer & Track Limit | 5 layers | Unlimited tracks |
| Third-party Plugin Support | No | Yes |
| Real-time collaborative edit | No | Yes (beta) |
| Text Editing | Preset fonts/positions | Custom fonts, kerning, layer blending |
| Effects | Fixed intensity | Adjustable parameters (e.g., blur %) |
| Audio | Basic volume control | Keyframe audio ducking, split tracks |
| Color Grading | Pre-baked LUTs | Custom curves, HSL sliders |
Pro Tip: If you often repurpose content for YouTube, TikTok, and Instagram, desktop’s export presets save countless clicks.
Getting Started: Installing Template on CapCut Desktop
- Download & Install
- Visit the official CapCut Desktop site and choose your OS (Windows/Mac).
- Run the installer and follow on-screen prompts.
- Sign In for Full Access
- Use your existing TikTok or email account.
- Signing in unlocks cloud-synced templates and assets.
- Update to Latest Version
- Always click Help → Check for Updates to ensure you have the newest template packs and bug fixes.
OR
Click the button below to download and install the latest version of CapCut APK for desktop (Windows).
How to Browse and Apply a Template on CapCut Desktop, Like a pro
Follow these steps to apply a template on CapCut desktop. It will give a pro look to your content.
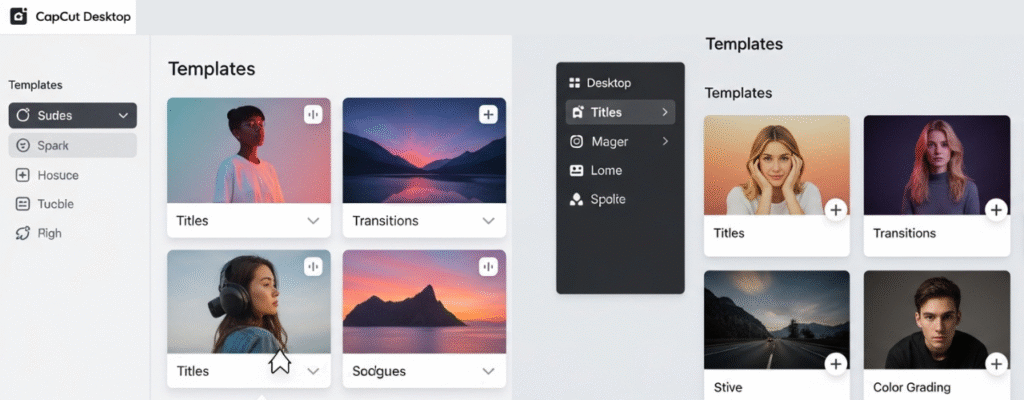
1. Opening the Templates Panel
- In the top toolbar, click Templates.
- Use the Categories filter (e.g., “Transitions,” “Titles,” “Color Grading”) to narrow your search.
2. Preview Before You Commit
- Hover over any template thumbnail and click the ▶️ icon to see a live preview.
- Look for templates marked New—these often showcase the latest trends (e.g., glitch loops, neon titles).
3. Applying the Template
- Select your desired template.
- Click Apply to Project—CapCut will automatically insert a new timeline track.
- Drag your media (video, images) onto the template’s designated placeholders.

4. Advanced Tweaks for Unique Results
- Modify Animations: Select a layer > Animation. Adjust presets or create custom paths.
- Override Default Music: Delete the template’s audio track, then import your own. Sync beats using the waveform visualizer.
- Brand Consistency: Save your logo, colors, and fonts as a “Custom Template” for future projects (File > Save as Template).
My Experience: I once applied a “Retro VHS” template to a travel vlog—simply swapping in my clips delivered an instant nostalgic vibe without manual keyframing!
Customizing Your Template: Beyond the Defaults
Templates are starting points. Here’s how to make them yours:
- Adjust Timing: Drag the template’s edges on the timeline to speed up or slow down transitions.
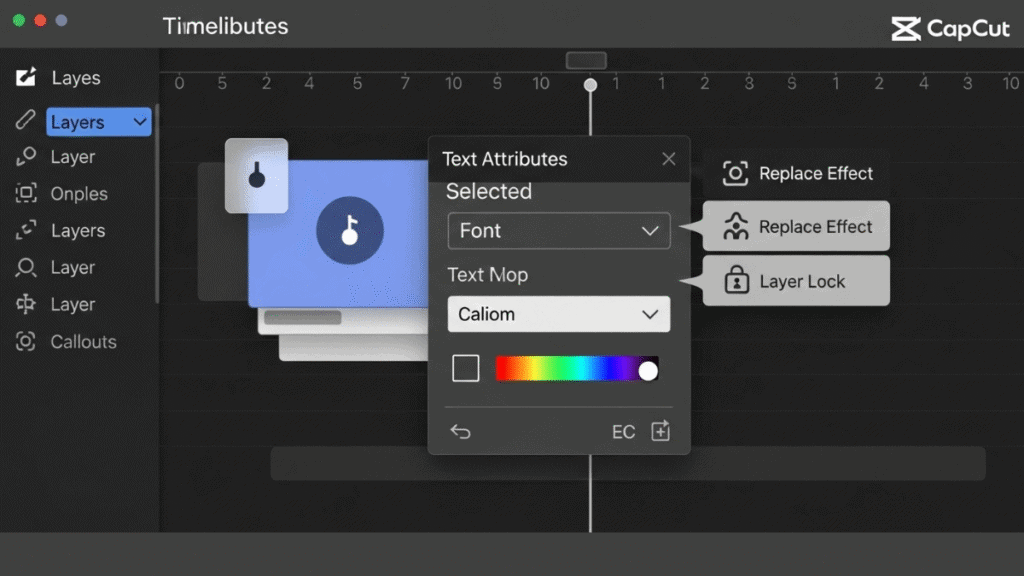
- Edit Text Placeholders: Double-click any text layer to change font, color, or copy. Try pairing fonts (serif + sans-serif) for contrast.
- Swap Effects: Right-click an effect (e.g., color LUT) → Replace Effect → choose from the Effects panel.
- Layering Tips: Add your own graphics or animated stickers above the template for branding.
Advanced Techniques: Pro Tips & Tricks
Here are some pro tips and tricks to take your video clip to an amazing level.
Nesting Templates
Use Nested Templates to combine multiple designs:
- Apply a title Tepelate.
- Right-click and choose Export as Template.
- Re-import it in another project—stack it with a transitions template for seamless intro sequences.
Third-Party Plugins
CapCut Desktop supports OFX plugins:
- Install an OFX plugin (e.g., Sapphire by Boris FX).
- Access it via Effects → OFX.
These plugins can elevate a basic Tepelate with advanced motion blur, lens flares, and more.Beyond Basics: Creative Template Hacks
- Hybrid Templates: Combine elements from 2+ templates. Drag layers from one project to another via the Media Library.
- Data-Driven Templates: Use CapCut’s AI tools to auto-apply templates. E.g., paste a blog link, and let AI generate b-roll + text overlays.
- Export for Platforms: For TikTok, use 9:16 templates. For YouTube Shorts, enable “Auto-Reframe” under Export settings.
Why This Beats Mobile Editing
While CapCut Mobile templates are convenient, the desktop version is where serious creators thrive. During a live-streamed product launch, I used a multi-screen template to show demos, testimonials, and CTAs simultaneously – impossible on mobile. Plus, exporting 4K footage at 60fps retains pristine quality for big screens.
Ready to Transform Your Workflow?
Templates on CapCut Desktop aren’t about cutting corners – they’re about amplifying creativity. By mastering them, you spend less time fixing timelines and more time telling stories.
“The best editing tool is the one that gets out of your way. CapCut templates do exactly that.” – Liam Sanchez, Digital Storyteller @ CreativeHive
Your Turn: Tried a CapCut template? Share your before/after videos in the comments – I’ll feature my favorites next week!
Troubleshooting Common Issues
Issue Symptom Solution Template Won’t Preview Thumbnail frozen or blank Update GPU drivers; restart CapCut. Missing Fonts Text displays as default system font Install the font on your OS or replace it manually. Laggy Playback Preview stutters, audio out of sync Lower playback resolution to ½ or ¼; pre-render. CapCut Desktop Template Resources
- Official Template Store: Browse community-created packs on the CapCut website.
- YouTube Tutorials: Channels like CapCut Guides offer step-by-step videos.
- Internal Link: Explore our in-depth guide on How to Remove or Edit the Image Background in CapCut 2025 for seamless overlays.
Conclusion: Master Template on CapCut Desktop Today
Templates accelerate your workflow and inspire fresh creativity—but the real magic happens when you customize and combine them to match your vision. Whether you’re crafting vlogs, promos, or social media shorts, mastering Template on CapCut Desktop will transform hours of editing into minutes of joy.
Call-to-Action
Loved this guide? 📣
- Share your favorite CapCut template in the comments below!
- Subscribe for more Pro Tips on video editing and SEO-optimized CapCut tutorials.
- Download our free template pack and try these techniques yourself: Get the Pack
Happy editing! 🎬✨

